How to Install Speedtest CLI on Fedora
Need to test your internet speed from the command line? The official Speedtest CLI from Ookla lets you measure download, upload, latency, and packet loss directly from your terminal—no browser required.
This guide was tested on Fedora 43 but works on any recent Fedora version (38+).
Two Different Tools
Before we begin, it's important to know there are two different speedtest CLI tools:
| Tool | Description |
|---|---|
| Ookla Speedtest CLI | Official proprietary tool from Speedtest.net |
| speedtest-cli (sivel) | Open source Python alternative |
This guide covers the official Ookla Speedtest CLI, which provides more accurate results and additional metrics like jitter and packet loss.
Installation
Method 1: Official Ookla Repository (Recommended)
Add the official Ookla repository and install the package:
# Add the Ookla repository
curl -s https://packagecloud.io/install/repositories/ookla/speedtest-cli/script.rpm.sh | sudo bash
# Install the speedtest package
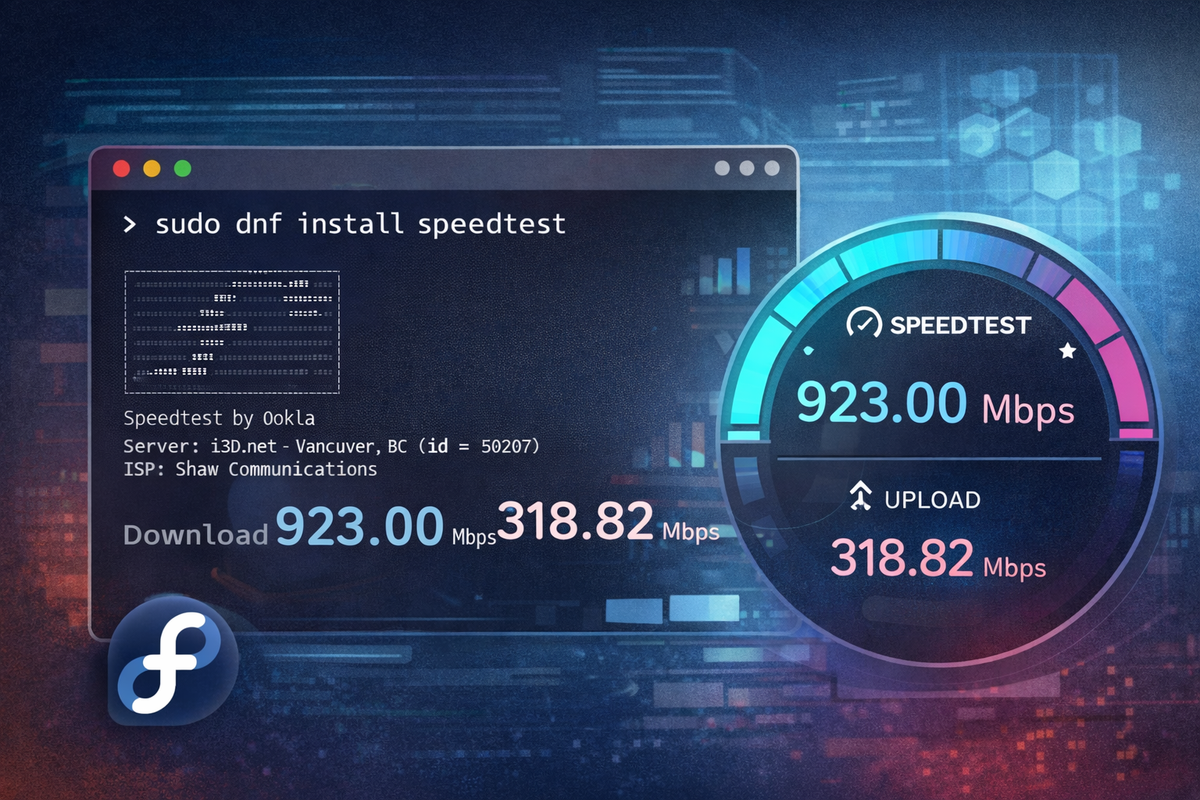
sudo dnf install speedtest
Method 2: Manual Repository Setup
If you prefer not to pipe scripts to bash, you can manually configure the repository:
# Create the repository file
sudo tee /etc/yum.repos.d/ookla_speedtest-cli.repo << 'EOF'
[ookla_speedtest-cli]
name=ookla_speedtest-cli
baseurl=https://packagecloud.io/ookla/speedtest-cli/fedora/$releasever/$basearch
repo_gpgcheck=1
gpgcheck=0
enabled=1
gpgkey=https://packagecloud.io/ookla/speedtest-cli/gpgkey
sslverify=1
sslcacert=/etc/pki/tls/certs/ca-bundle.crt
metadata_expire=300
EOF

# Update the cache
sudo dnf makecache

# Install speedtest
sudo dnf install speedtest
Verify Installation
speedtest --version
First Run
The first time you run speedtest, you'll need to accept the license agreement:
speedtest
You'll see a prompt like this:
You may only use this Speedtest software and information generated
from it for personal, non-commercial use, through a command line
interface on a personal computer...

License acceptance recorded. Continuing.
Type YES to accept and continue.
Basic Usage
Run a Speed Test
Simply run:
speedtest
Example output:
   Speedtest by Ookla

      Server: Comcast - Chicago, IL (id: 1774)
         ISP: Comcast Cable
Idle Latency:     8.42 ms   (jitter: 0.53ms, low: 7.98ms, high: 9.12ms)
    Download:   285.36 Mbps (data used: 321.2 MB)
                 12.14 ms   (jitter: 1.23ms, low: 8.12ms, high: 42.15ms)
      Upload:    23.45 Mbps (data used: 28.4 MB)
                  9.87 ms   (jitter: 0.89ms, low: 8.45ms, high: 15.23ms)
 Packet Loss:     0.0%
  Result URL: https://www.speedtest.net/result/c/abc123-def456
List Available Servers
Find servers near you:
speedtest --servers
# or
speedtest -L
Test Against a Specific Server
Use the server ID from the list:
speedtest --server-id=1774
# or
speedtest -s 1774
Output Formats
Human-Readable (Default)
speedtest
JSON Output
Perfect for scripting and parsing:
speedtest --format=json
Or for pretty-printed JSON:
speedtest --format=json-pretty
CSV Output
speedtest --format=csv
Add headers for clarity:
speedtest --format=csv --output-header
Useful Options
| Option | Description |
|---|---|
-L, --servers |
List nearby servers |
-s, --server-id=ID |
Test against specific server |
-f, --format=TYPE |
Output format: human-readable, json, csv, tsv |
-u, --unit=UNIT |
Speed unit: bps, kbps, Mbps, Gbps |
-p, --progress=yes|no |
Show/hide progress bar |
-P, --precision=N |
Decimal precision (0-8) |
-I, --interface=NAME |
Bind to specific network interface |
-i, --ip=ADDRESS |
Bind to specific IP address |
-v |
Increase verbosity (use multiple times for more detail) |
-V, --version |
Show version |
-h, --help |
Show help |
Unit Shortcuts
| Shortcut | Meaning |
|---|---|
-a |
Auto decimal bits (Mbps) |
-A |
Auto decimal bytes (MB/s) |
-b |
Auto binary bits (Mibps) |
-B |
Auto binary bytes (MiB/s) |
Practical Examples
Simple Output for Scripts
speedtest --format=json | jq '.download.bandwidth, .upload.bandwidth'
Test Using a Specific Network Interface
speedtest --interface=eth0
Schedule Regular Tests
Add to crontab for periodic monitoring:
# Run speed test every hour and log results
0 * * * * /usr/bin/speedtest --format=csv >> /var/log/speedtest.csv 2>&1
Compare Multiple Servers
for server in 1774 2345 3456; do
    echo "Testing server $server..."
    speedtest -s $server --format=json-pretty
done
Troubleshooting
"Command not found" after installation
Ensure the package installed correctly:
rpm -qa | grep speedtest
If installed but not found, check your PATH or try the full path:
/usr/bin/speedtest
Network timeout errors
Try a different server or increase verbosity to diagnose:
speedtest -v -v -v
Behind a proxy
The CLI respects standard proxy environment variables:
export https_proxy=http://proxy.example.com:8080
speedtest
Alternative: Python speedtest-cli
If you prefer the open source alternative:
# Install from Fedora repos
sudo dnf install speedtest-cli

# Run (note: different command name)
speedtest-cli
This version has slightly different options but similar functionality.
References
- Ookla Speedtest CLI - Official download page
- Ookla Repository on packagecloud - Installation instructions
- speedtest-cli on GitHub - Open source Python alternative